Best Product Photography Lighting for Pro-Level Images
Here's the thing about perfect product photos: the secret isn't some fancy, thousand-dollar camera. It's all about mastering light. If you're just starting out and looking for the best product photography lighting, your best bet is a single continuous LED light paired with a softbox. This simple setup gives you incredible versatility and control, putting you on the fast track to professional, high-converting images without the steep learning curve.
Why Lighting Is Your Most Powerful Tool
Great product photography is really a conversation with your customer, and light is the language you're using to speak. Long before a potential buyer reads a single word of your description, the photo has already told them a story about your product’s quality, its value, and whether your brand can be trusted.
Bad lighting, with its harsh shadows and off-putting colors, basically screams "amateur" and can kill a sale on the spot. On the flip side, thoughtful, deliberate lighting builds confidence and creates desire.
Think of a bare lightbulb as a firehose—it's intense, harsh, and totally uncontrollable. It blasts your product with light, creating ugly glares and deep, distracting shadows. Now, picture putting a diffuser or a softbox in front of that bulb. Suddenly, that firehose turns into a gentle sprinkler, casting soft, even light that wraps beautifully around your product. It highlights the best features without any of the harshness. That’s the core principle right there: great lighting isn't about raw brightness, it's about control.
The Business Case for Better Lighting
Investing in a proper lighting setup isn't just an expense; it has a direct, measurable impact on your bottom line. High-quality images don't just look better, they perform better. It's been proven time and again that polished visuals boost conversion rates, lower product returns, and elevate how customers perceive your brand's value.
People rely on photos to make their buying decisions. A well-lit image gives them the clarity and confidence they need to click that "buy now" button. We dive deeper into this connection in our guide to capturing stunning product photos for your business.
Good lighting solves problems before they even start. It makes colors accurate, textures pop, and products look irresistible, removing the friction between a potential customer and a completed sale.
And these principles don't just stop at your website. Understanding effective product display lighting in retail shows just how crucial these same concepts are for creating beautiful, eye-catching displays in a physical store. In this guide, we'll skip the dense technical jargon and get straight to the practical steps, helping you choose the right tools to make your products truly shine.
Choosing Your Light Source: Continuous vs. Strobe
When it's time to light your products, you’ll quickly run into a fundamental choice: should you use continuous lights or strobes? Getting a handle on this decision is the first real step toward building a lighting kit that works for you, not against you.
Think of continuous light as a very bright, very controllable lamp. It stays on the whole time. This is fantastic because what you see through your camera’s viewfinder is exactly what the final picture will look like. You can move the light, adjust its power, and instantly see how the shadows and highlights change. It’s an incredibly intuitive way to learn the ropes of lighting.
Strobe lighting, on the other hand, is a different beast entirely. It’s like a tiny, contained bolt of lightning that fires the exact moment you click the shutter. You can’t see the effect until after you’ve taken the shot, but its raw power and ability to freeze motion in its tracks are why it’s been the gold standard in professional studios for decades.
The Case for Continuous Lighting
Continuous lights, which are almost always LED panels these days, have become a huge favorite, and for good reason. Their "what you see is what you get" nature takes all the guesswork out of the equation, making them perfect for anyone just starting to figure out how to shape light.
Better yet, if you plan on shooting any video—product demos, social media clips, you name it—continuous lights are non-negotiable. You simply can't shoot video with a strobe. This makes LEDs a super practical, two-for-one solution that’s kinder to your budget.
- Easy to Learn: Perfect for beginners who need that immediate visual feedback.
- Video-Ready: The only real choice if you're creating both photos and videos.
- Budget-Friendly: Great-quality LED lights have become incredibly affordable.
The main trade-off? Continuous lights just aren't as powerful as strobes. To get a bright enough exposure, you often have to use a slower shutter speed, which means a sturdy tripod is an absolute must to prevent any motion blur.
The Power and Precision of Strobe Lighting
For photographers who need maximum power and absolute control, strobes are king. A single pop from a strobe can completely overpower all the other light in a room, giving you a totally black canvas to paint your light onto. This massive output lets you use a low ISO for clean, noise-free images and a narrow aperture for that crisp, edge-to-edge sharpness.
Strobes have a secret weapon: their ability to freeze motion. If you’re trying to capture something dynamic like a water splash or a falling powder, the incredibly brief flash duration will stop the action dead in its tracks with perfect clarity.
That’s a shot that’s next to impossible to get with continuous lights. While strobes definitely have a steeper learning curve, once you get the hang of them, a whole new world of creative possibilities opens up. If you're curious, our guide on off-camera flash for Sony mirrorless cameras is a great place to start, as the core ideas apply to any camera system.
Continuous Lighting vs Strobe Lighting At a Glance
Still on the fence? This table breaks down the key differences to help you decide which tool is the right fit for your specific product photography needs.
Feature
Continuous Lighting (e.g., LED Panels)
Strobe Lighting (Flash)
Ease of Use
Very easy; WYSIWYG (What You See Is What You Get)
Steeper learning curve; requires test shots
Power Output
Lower; may require slower shutter speeds
Very high; can easily overpower ambient light
Motion Freezing
Poor; not suitable for capturing fast action
Excellent; flash duration freezes motion perfectly
Video Capability
Yes; essential for any kind of video work
No; cannot be used for video recording
Cost
Generally more affordable to get started
Can be more expensive, especially for pro-grade kits
Heat Output
Low (especially LEDs)
Very low; flash is instantaneous
Ultimately, whether you choose continuous or strobe lighting, you’re making a smart investment. The right light can make or break your shot.
This infographic gives you a quick visual on how different lighting tools stack up in the real world.

When you look at the business side of things, the impact is real. High-quality, professional product photos have been shown to lift online conversion rates and reduce returns, because customers know exactly what they’re getting. Most online shoppers say product images are one of the most important factors in their buying decision, so great lighting isn't just an artistic choice. It's a critical business tool.
Key Features to Look for in Lighting Equipment
Alright, so you've decided between continuous lights and strobes. Now comes the fun part: navigating the sea of product pages and tech specs. It can feel like reading a different language, but a few key features will help you cut through the noise and find the best product photography lighting for you.
Think of this as your practical buyer's guide. We're going to break down exactly what matters, so you can read a spec sheet with total confidence and find gear that not only works today but grows with you tomorrow.
Color Rendering Index (CRI)
First up, and arguably the most important spec, is the Color Rendering Index, or CRI. This is a simple scale from 0 to 100 that tells you how accurately a light source shows an object's true colors compared to natural sunlight. For product photography, getting this right is non-negotiable.
Imagine you're selling a vibrant red sweater. A light with a low CRI could make that sweater look dull, orange-ish, or just… off. That's a recipe for unhappy customers and a spike in returns.
A high CRI is your insurance policy for color accuracy. It guarantees that what customers see on their screen is what they'll get in the mail. For any professional work, you absolutely want a light with a CRI of 95 or higher.
Don't overlook this number. It's one of the clearest indicators of a quality, professional-grade light.
Brightness and Power Control
Next, let's talk about intensity. Not every product or scene needs to be blasted with the same amount of light. The ability to precisely control brightness is crucial for creative and technical flexibility.
Cheaper lights often have just a few fixed settings, like low, medium, and high. That's a huge limitation. Instead, look for lights that offer stepless dimming. This gives you granular control, allowing you to make tiny adjustments anywhere from 0% to 100% power. It's this fine-tuning that lets you perfectly balance your key and fill lights to create the exact mood you're after.
Adjustable Color Temperature
Just as crucial as brightness is the color of the light itself. This is called color temperature, and it's measured in Kelvin (K). It simply describes whether a light appears warm (more yellow and orange) or cool (bluer).
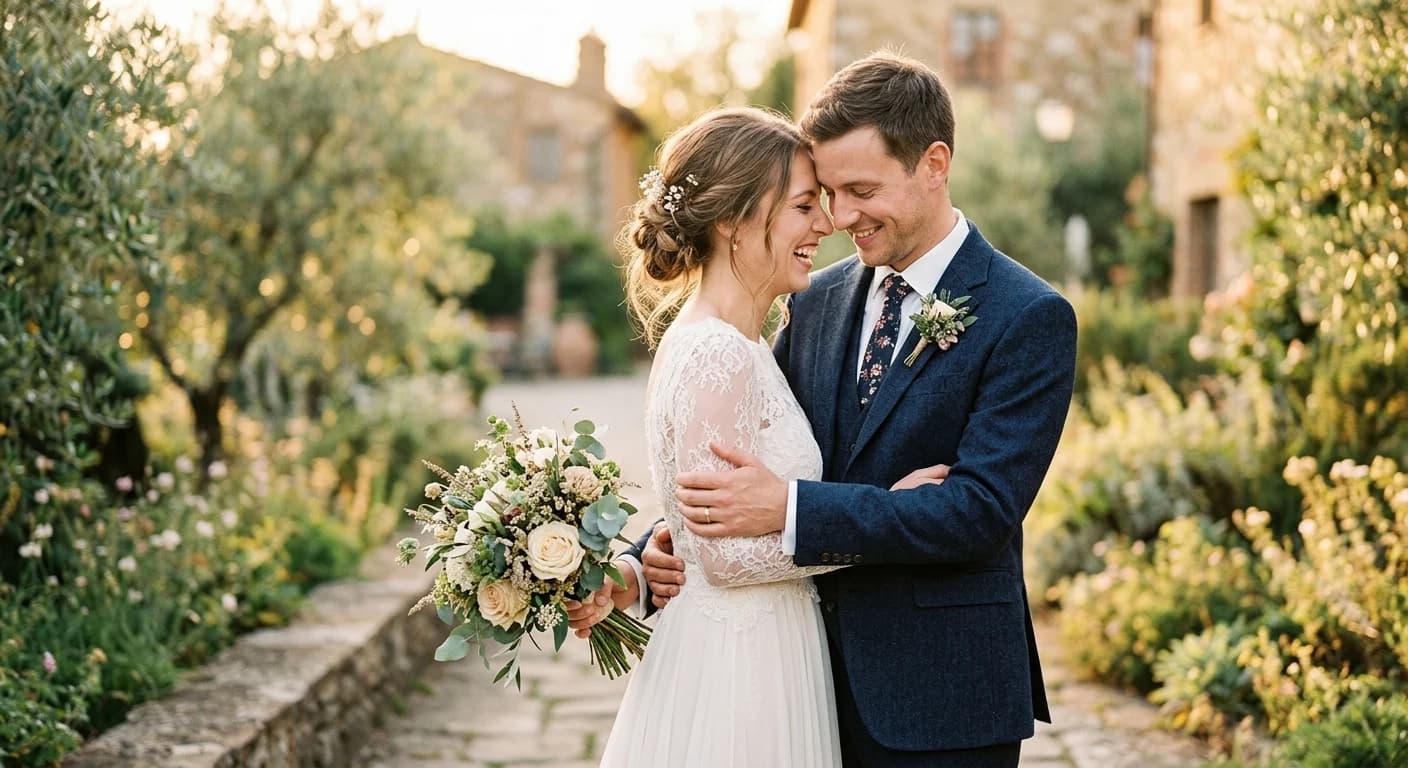
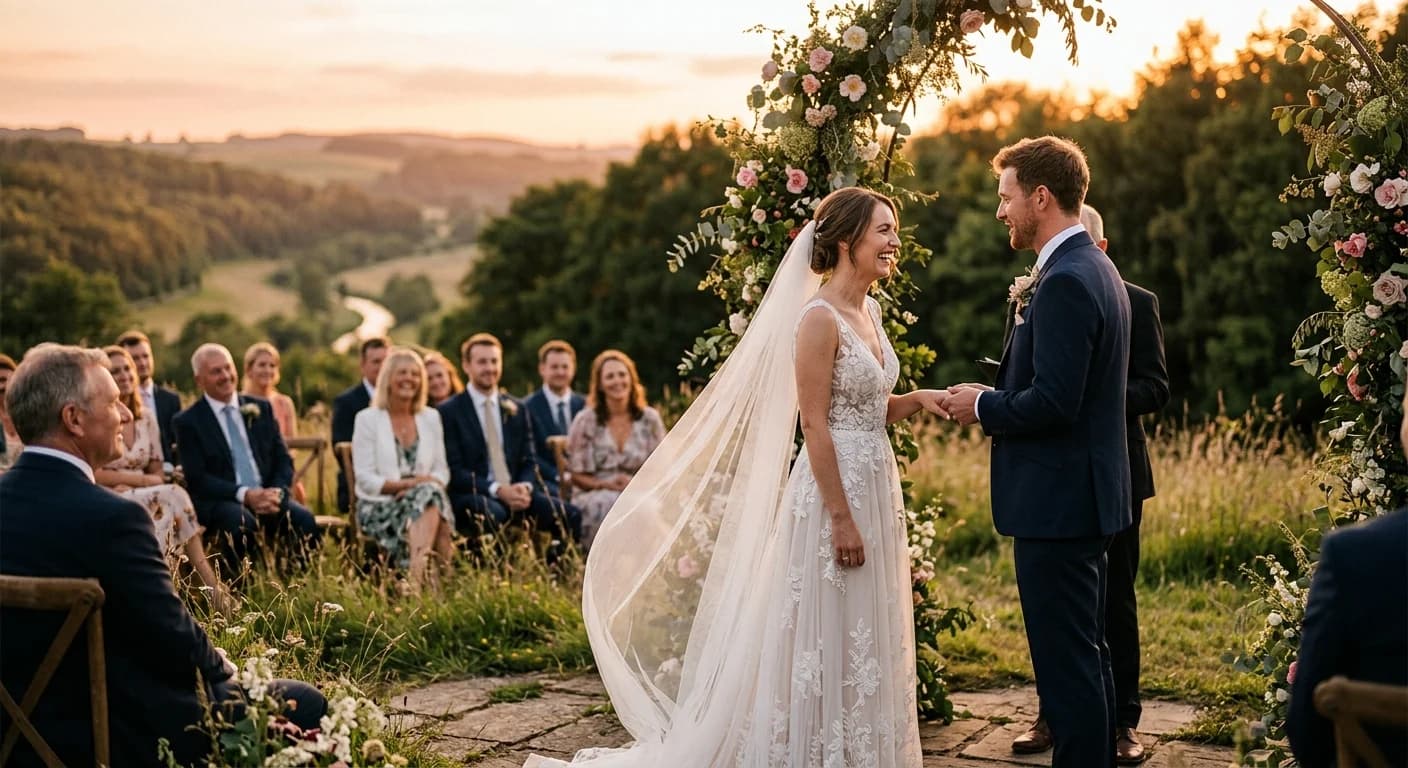
For most product shots, you're aiming for a clean, neutral white light, which is typically around 5600K (the color of daylight). However, many modern lights offer bi-color functionality, letting you dial the temperature from a warm 3200K all the way up to a cool 6500K or more. This versatility is fantastic for creative shots or for matching the ambient light in your space. These same principles are used in other demanding fields, as you can see in this comprehensive guide to wedding photography lighting gear.
Power Options and Portability
How are you going to power your lights? It seems like a minor detail, but it can make a huge difference in your workflow.
- AC Power: These lights plug right into a wall outlet. They're reliable and consistent, which makes them perfect for a dedicated home studio where you won't be moving things around much.
- Battery Power: Running lights off batteries gives you the freedom to shoot absolutely anywhere. This is a game-changer if you need a mobile setup or want to shoot on location without being tethered to an outlet.
Thankfully, you often don't have to choose. Many modern LED lights offer both, giving you the best of both worlds. Just think about where you'll be shooting most often and pick what makes sense.
Mount Type for Modifiers
Finally, don't forget to check the mount. This is the part of the light where you attach essential tools like softboxes, umbrellas, and grids. The most common, and by far the most versatile, is the Bowens mount.
Choosing a light with a Bowens mount is a brilliant long-term move. It's a universal standard, which means you have access to a massive ecosystem of modifiers from dozens of different brands. This gives you the freedom to experiment with new light-shaping tools as your skills grow, without ever being locked into one company's expensive, proprietary system.
How to Shape and Control Your Light with Modifiers
A studio light by itself is just raw, untamed power. Think of it like a bare lightbulb in a dark room—it’s harsh, creates sharp shadows, and isn't very flattering. The real magic happens when you start taming that light with modifiers. These are the tools that let you sculpt, soften, and direct the light to make your products look their absolute best.
Modifiers take that concentrated beam and shape it, transforming it into anything from broad, gentle illumination to a focused, dramatic spotlight. This control is the secret sauce for professional-looking images and is non-negotiable for finding the best product photography lighting for your specific items.
You wouldn't use a firehose to water a delicate plant, right? You'd use a sprinkler head to create a wide, even spray. A light modifier, like a softbox, does the exact same thing for light. Learning how they work gives you total creative command, letting you kill ugly reflections and bring out beautiful textures.
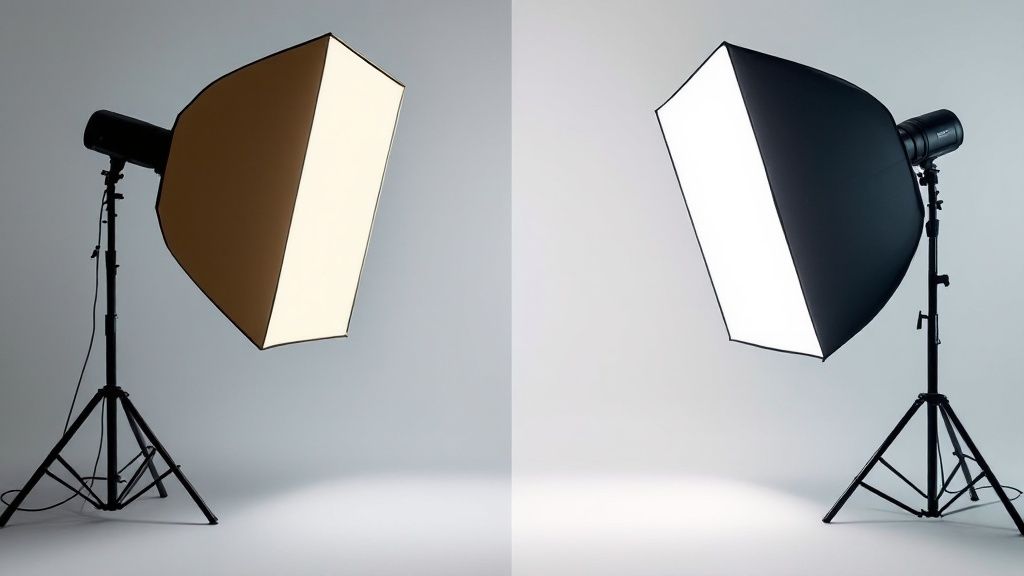
Softboxes: Your Go-To for Soft Light
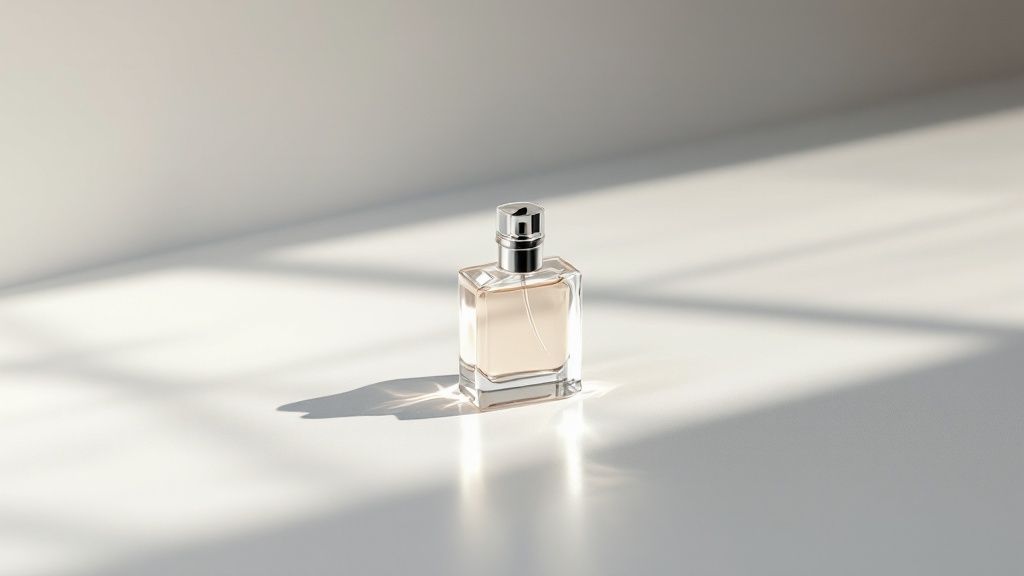
If you picture a classic photography studio in your head, you're probably picturing a softbox. This workhorse modifier is essentially a fabric box—usually with a reflective silver interior and a white diffusion panel on the front—that fits over your light. Its main job is to take a small, harsh light source and make it feel big and soft.
The principle here is simple but crucial: the larger the light source is relative to your subject, the softer the light will be. A big softbox creates a beautiful, wrapping light with gentle, feathered shadows, which is exactly what you want for most product shots. It’s a lifesaver for tricky items like glassware or polished metal, where it produces clean, manageable highlights instead of blinding glares.
Here’s where a softbox really excels:
- Creating a clean, high-end look: Perfect for e-commerce photos where clarity and appeal are everything.
- Shooting reflective or glossy products: It’s the best way to minimize harsh glares and hotspots.
- Achieving soft, flattering shadows: It prevents those distracting, hard-edged shadows that can cheapen an image.
Umbrellas: Easy Portability and Broad Coverage
Photography umbrellas are another fantastic way to soften your light. They are ridiculously easy to set up (they pop open just like a rain umbrella), making them a favorite for photographers needing a quick, portable solution. They generally come in two flavors, each serving a different purpose.
A shoot-through umbrella is made of a translucent white material. You aim your light through it, and the fabric diffuses the beam, spreading it over a wide area. A bounce umbrella, on the other hand, has a reflective interior (white, silver, or gold). You point the light into it, and the light bounces back out onto your subject, creating a broad, soft beam that’s a bit more controlled than a shoot-through.
While umbrellas create wonderfully soft light, they also spill it everywhere. This is great for lighting a large scene, but it gives you less precise control than a softbox.
Reflectors: The Unsung Hero of Lighting
Maybe the most underrated and affordable tool in any lighting kit is a simple reflector. This can be a professional 5-in-1 collapsible disc or even just a piece of white foam board from a craft store. A reflector's job isn't to create light but to redirect it.
Just place a reflector on the opposite side of your product from your main light. It will catch the light that spills past your subject and bounce it back, filling in any deep, dark shadows. This one simple move adds dimension, reveals hidden details, and gives your product photos a much more polished, professional feel. It’s an essential part of almost every single-light setup I’ve ever used.
Three Essential Lighting Setups You Can Build Today
All this theory is great, but let's get our hands dirty and put those lights to work. You'd be surprised how easy it is to build a functional, professional-looking setup. Below are three of my go-to blueprints for creating images that sell, starting with the simplest and most accessible option.
Think of these less as rigid rules and more as starting recipes. Once you get a feel for why each light goes where it does, you can start tweaking these setups for any product that comes across your desk. It’s all about finding the best product photography lighting for each unique shot.
The Simple One-Light Setup
This is where everyone should start. Whether you're launching your first e-commerce store or just keeping an eye on the budget, this setup is proof that you don't need a truckload of gear to get stunning results. All it takes is a single light, a modifier, and a reflector.
Think of your light source as your own personal sun. You want to capture its beautiful, soft quality—not the harsh, unflattering glare of a bare bulb.
-
Position Your Key Light: Place your main light, which we call the key light, inside a softbox and position it at a 45-degree angle to your product. This classic placement carves out gentle highlights and shadows, giving the object shape and definition without making it look flat.
-
Bring in a Reflector: On the opposite side of your product, place a reflector. This doesn't have to be fancy; a professional pop-up reflector works great, but so does a cheap piece of white foam board from a craft store. Its job is to catch the light from your key light and bounce it back into the shadows, filling them in just enough to reveal lost detail.
This simple "bounce" technique is a game-changer. It creates a polished, high-end look by ensuring the entire product is visible and well-lit, all without needing a second expensive light.
For clean, classic product-on-white photos, this setup is an absolute workhorse. It’s simple to replicate and delivers professional results every single time.
The Classic Two-Light Setup
Ready for more control? Graduating to a two-light setup is the natural next step. This configuration gives you the power to dial in your shadows with incredible precision, either by minimizing them completely or shaping them exactly how you want.
Here, you're introducing a second light—a dedicated fill light—to manage the shadows cast by your key light.
- Key Light: Just like before, this is your primary light source, placed at a 45-degree angle to the subject.
- Fill Light: Your second light goes on the opposite side, also at a 45-degree angle. Here's the key difference: set this fill light to a lower power. A good starting point is around 50% of the key light's brightness. Its only job is to soften shadows, not overpower them.
This careful balance between key and fill is what creates a beautiful sense of three-dimensionality, making products feel more tangible and real. This is a staple in professional studios everywhere. If you need help executing this look, finding experts in product photography in Denver can offer great local examples and hands-on services.
The Professional Three-Light Setup
For those big "hero" shots that need to stop scrollers in their tracks, the three-light setup offers the ultimate creative control. This is the industry standard for high-end commercial work, especially when you're shooting tricky subjects like glossy electronics, glassware, or black-on-black products.
This setup adds one more light to the mix—a backlight—to make the product literally pop off the page.
- Key and Fill Lights: Your foundation is the classic two-light setup we just covered. Get that dialed in first.
- Add the Backlight: Place the third light behind your product. You can either aim it at the background to create a soft, glowing halo or point it directly at the back edge of the product itself. This creates a crisp, bright outline—a "rim" of light—that cleanly separates your subject from everything behind it.
This technique adds an incredible level of polish and depth, making the product look and feel incredibly premium. Getting comfortable with this setup is a major step toward creating images that can compete at the highest level.
Why Investing in Good Lighting Is a Smart Business Move
The push for better product images isn't just about making things look pretty. It's about tapping into a massive, fast-growing market where visuals are everything. Upgrading your lighting setup isn't just buying new gear; it's a strategic move that aligns your brand with how people actually shop today.
With e-commerce growing at an unstoppable pace, professional-looking photos have become the standard. Shoppers can't touch or feel your products online, so your images have to do all the work. This reality is what's powering the huge growth in the photography lighting industry.
Following the Market Growth
To see just how big this is, look at the global Photography Lighting System Market. It was valued at around USD 1.15 billion in 2024 and is expected to hit USD 1.78 billion by 2033. This growth is fueled by everyone from e-commerce sellers and advertisers to content creators needing better visuals. You can dig into the full market analysis over on Verified Market Reports.
What this means for you is that finding the best product photography lighting is no longer a luxury—it's essential for staying in the game. Thanks to innovations, especially with LED technology, professional-level tools are now more affordable and easier to use than ever before, which helps level the playing field for businesses of any size.
Investing in good lighting is really an investment in your brand's credibility. It shows customers you care about quality, which builds trust and makes them more likely to click "buy."
At the end of the day, great lighting gives you a serious competitive edge. It lets you create visuals that stop people from scrolling and turn them into paying customers. The link between professional images and business success is crystal clear, and this deep dive into why a business needs professional photos explains it perfectly. For photographers, it’s also smart to understand the full range of available media and photography services to see how your work fits into the bigger picture.
Common Questions About Product Photography Lighting
Diving into artificial lighting can feel like a huge leap, but it's usually less complicated than it appears. To help clear the air, I've rounded up some of the most common questions that pop up when photographers are trying to nail their product lighting setup.
Think of this as your quick-start guide to solving those nagging lighting puzzles. These are the hurdles most people face, and the answers are designed to get you over them and shooting with confidence.
Can I Get Professional Results with Budget Lighting?
You absolutely can. Honestly, the quality of your final image hinges far more on how you control the light than on the price tag of your gear. I've seen incredible, professional-grade shots taken with nothing more than a cheap LED panel and a white foam board from a craft store acting as a reflector.
It's all about mastering the fundamentals—light direction, softness, and how you shape your shadows. That knowledge is infinitely more valuable than owning the fanciest equipment. My advice? Start simple, learn to shape the light you have, and only upgrade when your skills or business demands it.
Remember, the best light is the one you know how to use. A single, well-placed budget light will always outperform a complex, expensive setup that you don’t understand.
What Is the Best Color Temperature for Product Photos?
For clean, accurate product shots, you’ll almost always want to stick with a daylight-balanced color temperature. That magic number is right around 5600K. This standard mimics natural midday sunlight, ensuring the colors of your product look true-to-life—something that's non-negotiable in e-commerce.
Most modern LED lights are either fixed at 5600K or let you dial it in yourself. Sticking to a single, consistent color temperature also makes setting your camera's white balance a breeze, which means you get reliable, repeatable results every single time you shoot.
Is Using Natural Window Light a Good Idea?
Yes, window light is a fantastic—and completely free—light source. It provides a naturally soft and diffused quality that can give your products a beautiful, high-end feel. It’s a look that can be tough to replicate with artificial lights without some pretty large and expensive modifiers.
The biggest trade-off, however, is the total lack of control and consistency. The light changes with the time of day, the season, and the weather. If you need to produce consistent images on demand, artificial light is your reliable workhorse. But if you're just starting out or want that organic, natural vibe, a big window is one of the best tools you can have.
Ready to capture your own stunning images? The team at Candid Studios has years of experience creating professional, high-converting product photos for businesses of all sizes. Learn more about how our expert photographers can elevate your brand.