Wedding Photography Lighting Tips for Wedding Photographers

Wedding Photography Lighting Tips for Wedding Photographers
Wedding Photography Lighting Tips For Wedding Photographers & Advanced Lighting Setups For Receptions


Capturing that picture-perfect wedding moment isn’t just a task—it’s an art. Believe us, we know the struggle all too well. We’ve found ourselves navigating the tricky waters of dimly lit halls and overly bright outdoor ceremonies more times than we can count.
But it’s exactly this journey, filled with trials, errors, and ah-ha moments, that has equipped us with a treasure trove of strategies to master lighting in wedding photography. In this blog post, we’re excited to peel back the curtain and share these insights with you.
So, if you’re ready to elevate your wedding photography game and let light become your best friend behind the lens—let’s dive in together!
Key Takeaways
- Use natural light for soft, magical photos, especially during the golden hour or on cloudy days for diffused sunlight. Bounce the light using nearby surfaces to enhance the softness. Bounce the light using nearby surfaces to enhance the softness.
- Master artificial light and flash to illuminate dark venues and add atmosphere to evening receptions.
- Experiment with backlighting, front lighting, and side lighting to add depth and drama to your shots.
- Bounce flash off ceilings or walls for softer shadows and flattering portraits, a technique recommended for achieving dramatic lighting on the side of the face.
- Mix ambient light with artificial sources for balanced exposures and romantic effects.
The Importance of Lighting in Wedding Photography


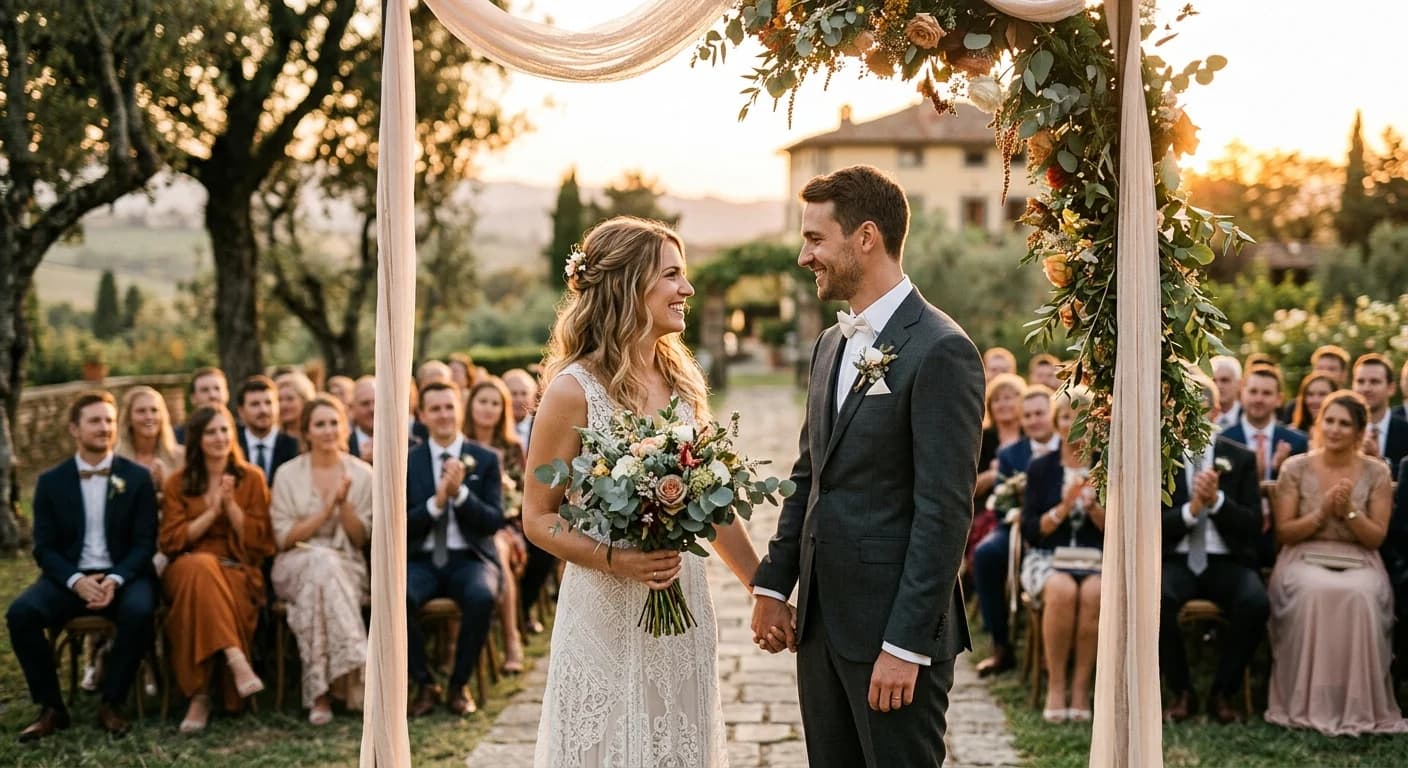
Lighting plays a game-changing role in wedding photography. It has the power to transform a normal scene into something magical, making it crucial for capturing those unforgettable moments.
Good lighting can flatter the bride and groom, highlight details, and create the right mood. From our experience, we’ve seen how different lighting setups—like off-camera flash or even soft backlight—can add depth and drama to reception photos.
We always prepare for unpredictable light situations at weddings. This means understanding natural light’s behavior throughout the day and mastering artificial lights like strobes or bounce flash to fill in shadows or illuminate dimly lit venues.
Shutter speed adjustments are often necessary to capture both the ambient light of a sunset ceremony and the vibrant energy of a dance floor. Our toolkit includes modifiers that shape light beautifully onto subjects, ensuring every photo looks its best under any condition—a skill essential for delivering great wedding photos.
Types of Wedding Photography Lighting


Types of Wedding Photography Lighting: mastering the use of a flash, learning to bounce the light, and underexposing to create dramatic effects are key.
Choosing the right light can make all the difference in wedding photos. We’ve got natural beams from the sun, man-made bulbs, and strobes to play with—each bringing its own flair to your shots.
Whether you’re capturing a tender moment under the golden hour sun or illuminating a dimly lit reception with strategically placed flashes, knowing your sources of illumination, like reception lighting, is key.
Let’s dive into how these different lights can transform photos from good to breathtaking.
There’s something magical about using sunlight to capture those candid moments. It wraps subjects in a soft glow that feels intimate and real. But it’s not just about letting the sun do its thing—we’ve got tricks up our sleeves to harness its power effectively.
When sunlight fades away, artificial beams step in. From elegant chandeliers at receptions to tiny twinkling fairy lights for ambiance, electric light creates mood and drama where needed.
Natural Light


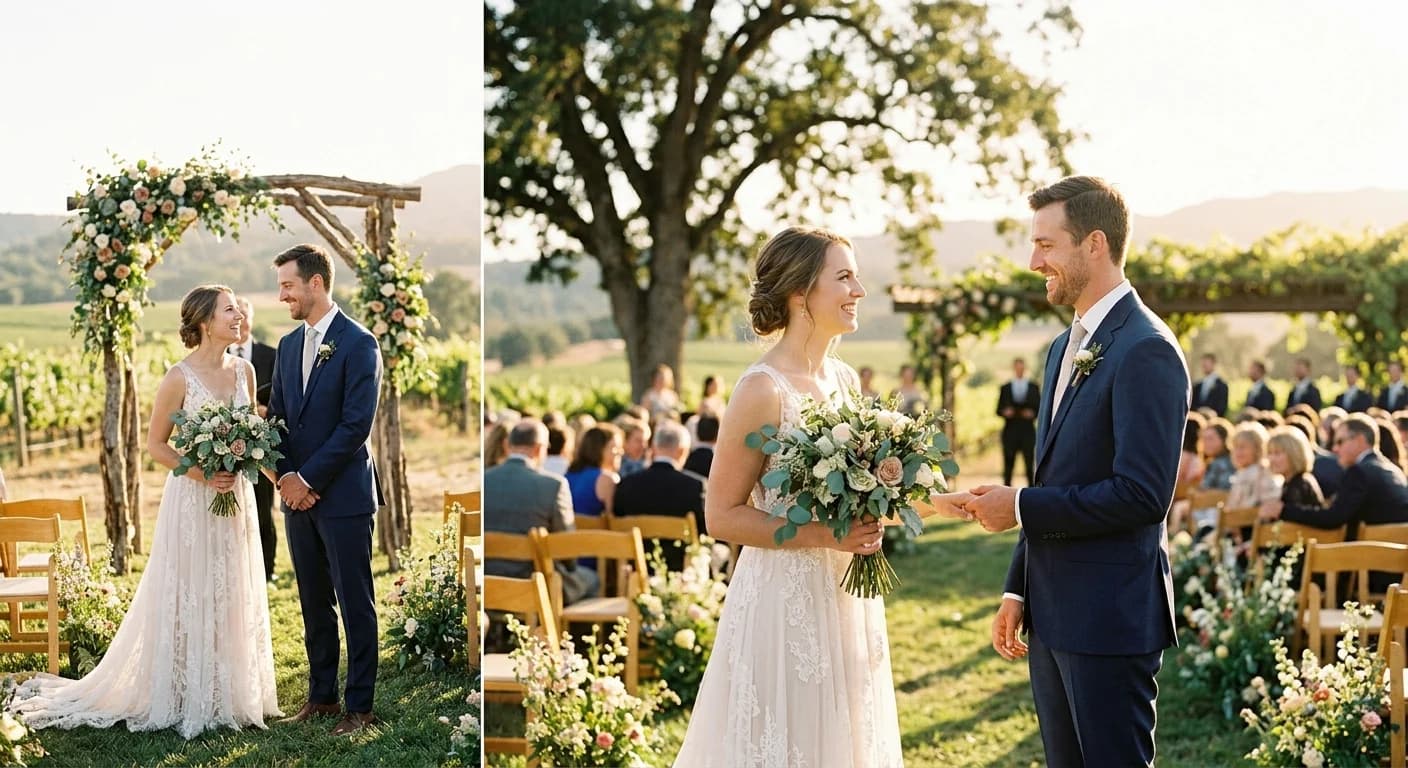
Natural light changes throughout the day and plays a big part in how your wedding photos turn out. Early morning or late afternoon offers soft, warm hues that make everything look magical.
Midday sun, on the other hand, casts harsh shadows and might not be as flattering, but you can underexpose the background and use a flash to balance the light on your subjects. We use this knowledge to pick the perfect time for outdoor shots, making sure you look your absolute best under the glow of natural sunlight.
Cloudy days are great for photography too; they act like a giant softbox spread across the sky, giving off diffused light that smooths out features and minimizes shadows. Whether we’re shooting under a bright sun or cloud cover, mastering natural lighting techniques ensures every moment looks authentic and beautiful—making sure your wedding album is full of memories exactly as you remember them.
Now let’s talk about how artificial light can also enhance those memorable moments.
Harnessing natural light at weddings transforms ordinary moments into extraordinary memories.
Artificial Light
Artificial light plays a lifesaver role in wedding photography, especially during receptions or in dimly lit venues. We often rely on fstoppers for guidance on reception lighting, especially on techniques to use a flash effectively in complex lighting situations. off-camera flashes To brighten those dark corners and highlight beautiful moments that natural light can’t reach, we point the flash upwards.
For us, mastering the use of flash units isn’t just about adding light; it’s about creating an atmosphere, enhancing textures, and bringing out the best in every shot. Whether we’re positioning strobes around the dance floor or using a bounce flash technique against a ceiling for softer illumination, each decision is made with care.
Using diffusers with our on-camera flashes has become one of our go-to strategies. It softens the harshness often associated with flash photography, giving photos a more flattering appearance.
The rim lighting technique—where we position a light source behind our subjects—adds drama and depth to our images that make them stand out. Every time we set up lighting gear at a wedding reception venue, we think about these techniques and how they’ll help us capture memories in the best light possible.
Flash Lighting
Flash lighting plays a key role in wedding photography, especially when the sun goes down or in dimly lit rooms. We often use both on-camera flashes for quick shots and off-camera flashes to create more dramatic effects.
These little bursts of light, akin to reception lighting, can be magic makers, turning a dark dance floor into a place where every moment shines.
To get the best out of flash lighting, bouncing your flash—pointing it away from your subjects to avoid harsh shadows—is something we swear by. Adding diffusers or softboxes also helps us soften the light for those flattering bridal portraits, creating dramatic lighting on one side of the face.
And let’s not forget about using speed lights at various points around the reception space; it’s like painting with light to ensure every angle is covered beautifully.
Moving on, let’s talk about essential lighting techniques that can make all the difference…
Essential Lighting Techniques for Wedding Photography


Mastering the art of lighting is key to capturing stunning wedding photos. Let’s talk about the essential techniques you need to know.
In wedding photography, every click matters. A good technique can turn an ordinary moment into a magical one.
Understanding how light affects your photos is like reading a secret transcript that guides your shots. It tells you where to stand, how to angle your camera, and when to click.
Here are some tips: use natural light as much as possible; when indoors, find windows or open spaces that let in lots of sunlight, or bounce the light off surfaces to mimic this natural effect.
Natural light makes everything look soft and beautiful. But it changes throughout the day, making it a great way to add variety to the lighting in your photography by adapting to these changes. You have to be quick and adjust your settings accordingly.
Direct sunlight can be harsh, often requiring fstoppers to achieve this look without the harshness. Try using reflectors or find shade for softer shadows on faces.
Receptions often have low light, making it crucial to employ reception lighting techniques. Use off-camera flashes around the room for even lighting without blinding.
Direct Sunlight
Direct sunlight is a tricky beast for us wedding photographers. It can throw harsh, unflattering shadows across your subjects, making those dreamy portraits turn into a nightmare. But fear not! We’ve learned to work with, rather than against, this powerful light source.
By adjusting the shutter speed and positioning ourselves smartly, we can harness direct sunlight to create stunning contrasts that pop in your wedding album.
Our personal journey with mastering direct sunlight has taught us invaluable lessons in lighting technique. For example, during an outdoor ceremony under the midday sun, we might maneuver our stance so that the light falls just right—highlighting your best features while minimizing those harsh shadows.
At times, using a reflector or even embracing the backlight from the sun creates silhouettes that are nothing short of breathtaking. And let’s not forget the magic of off-camera flash to fill in those darker areas; it’s like having a bit of controlled sunshine right where you need it most! Through trial and error at many weddings, we found these strategies ensure every photo captures your moment beautifully—even under the challenging glow of direct sunlight.
Reflected Light
Reflected light becomes our secret weapon at weddings, especially when the direct sun is too harsh. We use shiny surfaces like walls, ceilings, and even floors to bounce light back onto our subjects, making it a great way to add depth and eliminate harsh shadows.
This technique creates a soft glow that’s incredibly flattering for portraits. Think of it as diffusing the harshness and wrapping your subjects in a gentle embrace of light.
Our experience has taught us that controlling this bounced light can transform an ordinary photo into something magical. By adjusting the position of either the source or our subjects relative to these reflective surfaces, we shape the light to suit our vision.
This approach not only softens shadows but also illuminates faces beautifully without needing complex setups or extra gear like strobes or on-camera flashes. It’s all about finding and utilizing available reflective spots around you – a skill that turns challenging lighting conditions into stunning photographs.
Backlighting
After exploring how reflected light can soften and enhance your wedding photos, let’s shift our focus to a magical trick in the photographer’s playbook: backlighting. This technique turns ordinary scenes into breathtaking moments with just the right play of shadows and highlights.
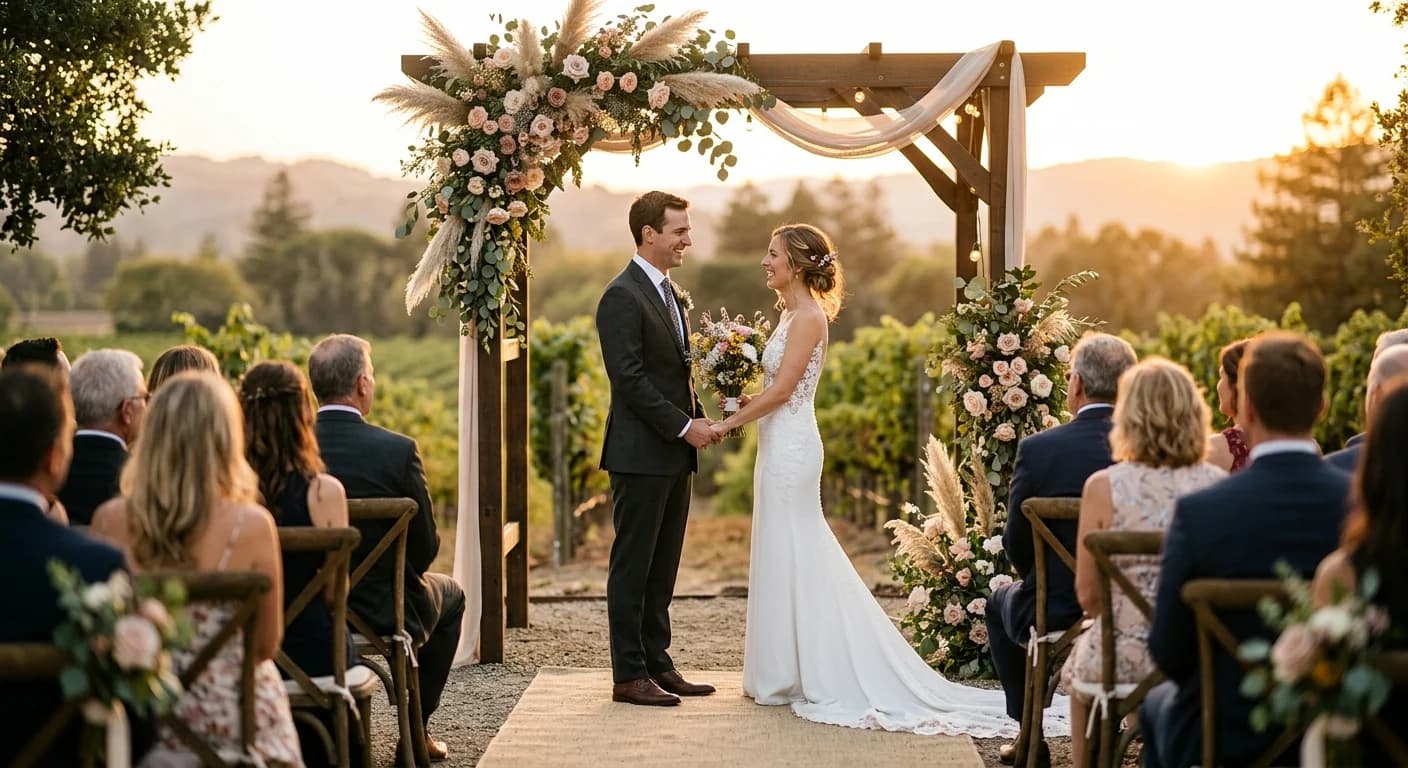
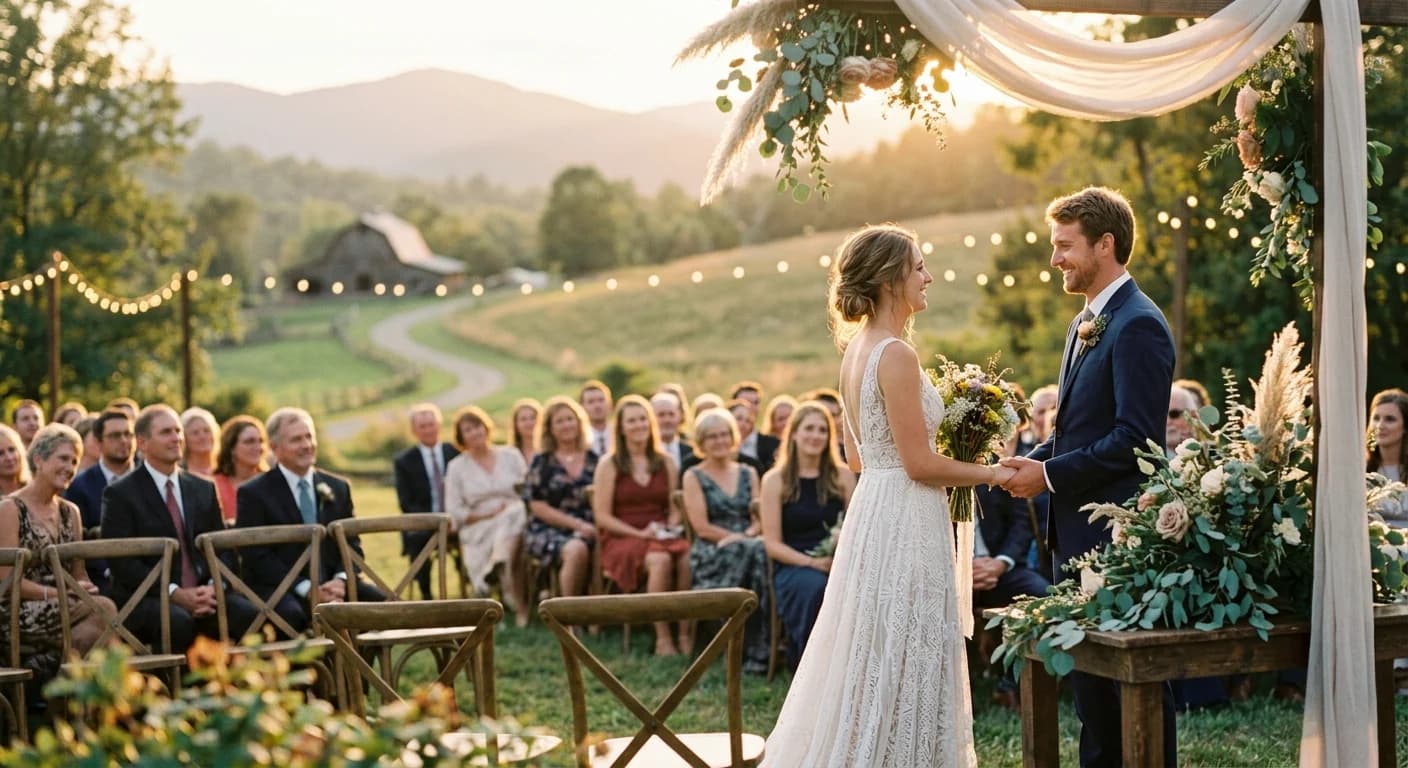
Picture this—the golden hour when the sun paints everything it touches with a warm glow, that’s the ideal setting for using natural backlighting.
Backlighting isn’t just about placing light behind your subjects; it’s an art. We often use off-camera flashes or even strobes positioned exactly opposite to where we stand, creating a halo effect around couples during their first dance at the reception.
It gives photographs depth and drama without overpowering the intimacy of the moment—a delicate balance we strive for in every shot.
Light stands are not just tools; they’re magic wands in wedding photography.
In our journey through countless weddings, we’ve learned that controlling this type of lighting comes down to understanding how much flash power to use and adjusting shutter speeds accurately.
Mixing ambient lights with artificial sources like off-camera flash can completely transform a reception space from flatly lit to dynamically textured with soft light cascading through each frame.
For us, experimenting with different modifiers has opened up endless possibilities—turning dark situations into canvases filled with emotion-filled portraits illuminated by flattering backlit contours on faces and dresses alike.
Front Lighting
Front lighting plays a key role in capturing the true atmosphere and emotions of your big day. We always aim to use front light to make every photo pop with clarity and detail. This lighting style lights up the face of our subjects, making sure their expressions are seen clearly.
It’s a must for us, especially during those priceless moments like saying “I do” or the first dance.
We’ve learned that using this method helps avoid flat, dull pictures by adding depth and dimension to our shots. By positioning the light source directly in front of you, we ensure flattering illumination that highlights your best features.
Whether it’s through adjusting shutter speed or working with on-camera flash, we know how to manipulate front light to complement you beautifully without overwhelming. Trust us; this simple yet effective approach of using flash behind your subjects is what makes wedding photos truly stand out.
Side Lighting
Side lighting works wonders for adding dimension and depth to your wedding photos. We’ve found that using this lighting technique stops your pictures from looking flat. Think of it as painting with light, where the side light carves out details in the subject, making everything pop just right.
This is a tool we often reach for during receptions or when capturing those intimate moments between couples.
We use both natural light and artificial sources to create this effect. For instance, placing a strobe or off-camera flash to one side can illuminate the couple beautifully against a dimly lit background.
It’s all about finding the balance—too much light might overwhelm, but just enough can highlight those hidden features perfectly.
Now, let’s talk about how backlight can transform an ordinary scene into something magical…
Top Tips for Perfect Wedding Photography Lighting


Mastering the right lighting for your wedding photography can truly elevate the whole shoot, especially when incorporating techniques to underexpose and use light by using a flash. We know that every picture tells a story, and getting the light just right can turn a simple photo into a magical moment.
Our top tips will guide you through using backlight to create halo effects around your couples, employing bounce flash to soften shadows on faces, and mixing ambient light with artificial sources to balance your scenes perfectly.
Experimenting with colored filters over lights could add just the pop of color your photos need. Don’t forget about placing portable lamps in strategic spots around your venue either—this can fill in those darker corners beautifully.
And here’s something we swear by: combining both direct illumination devices and indirect lighting gadgets gives you control over shadows and highlights like never before.
We’re all about making sure every snap captures the beauty and essence of each wedding day—to us, there’s nothing more rewarding than that! So, dive into our treasure trove of insights; you might just discover that achieving stunning lighting setups is easier
The Backlit Method
The Backlit Method teaches us to play with the sun and shadows to capture those magical moments in wedding photos. We find that using natural light, especially during golden hours, creates unforgettable images.
This lighting technique isn’t just about where the light comes from; it’s about creating a mood that lights up your photo album. Imagine setting your subjects against a soft, glowing backdrop—this method makes it reality, especially when you’re shooting two weddings back-to-back and need to quickly adjust your setup.
Mastering backlight involves knowing the time of day and adjusting your shutter speed for stunning results.
We also adjust our cameras differently when dealing with backlight compared to other settings, often using a flash to balance the exposure. It might involve changing shutter rates or moving around until we get that perfect glow behind our brides and grooms.
Lighting for wedding photography becomes an art form with this method, turning average scenes into breathtaking views without needing strobes or on-camera flashes. Reception photos shine too, as we can modify indoor lighting to mimic this natural beauty, ensuring every smile is wrapped in flattering light.
The Bounce Lighting Method
Moving from the magical glow of backlight, let’s turn our attention to another fantastic technique: bounce flash. We’ve found that this method is a game-changer in rooms where light isn’t the best.
Instead of pointing your flash directly at subjects, you aim it at surfaces like ceilings or walls. This way, the light bounces back, filling the area with a soft, diffused glow. It’s much more flattering and creates beautiful images without harsh shadows.
In our own experiences shooting weddings, using a bounce flash has helped us immensely during receptions held in dimly lit venues. By angling our on-camera flash towards a neutral-colored surface, we effectively spread light across the scene far better than any direct flash could.
Plus, adding a diffuser to our strobes further softens the light’s touch on faces and decor alike—making every shot worthy of an album centerpiece.
Use of Colored Gels
Colored gels can totally transform your wedding photos, turning them from just nice to wow! They’re like a secret sauce that adds flavor to the images. We love using them because they let us paint with light, creating pictures that are as unique as your big day, often by placing a flash behind your subjects for dramatic backlighting.
Think of dropping a warm orange gel on our flash at sunset—it makes everything glow like it’s golden hour all day long. Or, by choosing a cool blue shade, we can mimic the moonlight in evening shots.
We often pair colored gels with off-camera flashes to get dynamic and creative effects that aren’t possible with natural light alone. This technique lets us control exactly where and how color shows up in our photos—whether it’s making your dance floor pop by underexposing and using a flash or adding some drama to those romantic evening portraits with light from the flash.
The best part? It’s all about experimentation and seeing what works for your specific vibe, like trying to bounce the light off shiny surfaces for a unique glow. Our guide to wedding photography teaches us not to shy away from trying different combinations until we find something perfect; achieving great lighting for wedding photography is part magic, part science, after all.
Mixing Ambient Lights with Artificial Lights
In our years of shooting weddings, we’ve learned a trick or two about lighting. One key method is blending natural illumination with lamps and flashes, achieving a similar effect to using a flash directly at the subjects for more balanced lighting. This technique helps us achieve stunning effects, especially during the golden hour when the sun sets, a favorite among many photographers.
We align our artificial sources, like strobes or on-camera flashes, to complement the soft glow from the sunset. This mix not only balances light across our subjects’ faces but also adds a romantic atmosphere that’s perfect for wedding shoots.
We often use this strategy in dimly lit settings too, such as receptions where available lighting isn’t doing us any favors. Here’s where off-camera flashes come into play – they’re pivotal in creating dynamic and visually pleasing images under low-light conditions.
By adjusting these artificial lights smartly against weaker ambient backdrops, we ensure every photo captures the essence of your special day without missing a beat.
Use of Light Stands in Different Corners of the Room
After blending ambient lights with flash, we move to strategically placing light stands around the room. This method gives us side and fill lighting without needing constant adjustments.
It’s a pro move for capturing every angle beautifully at weddings, often involving underexposing slightly and then illuminating with flash to achieve the desired effect.
By setting up these stands in various corners, we ensure that no moment is left in the shadows. Light stands are key players here, helping us address those tricky spots reception halls often have.
They let us work smoothly, ensuring that you’re shooting with ease and keeping our focus on capturing memories rather than fiddling with gear.
Conclusion


Alright, let’s wrap this up. Mastering the art of lighting for wedding photography isn’t just about having the right gear like strobes or on-camera flashes. It’s about how you use them to capture moments that last a lifetime.
Whether it’s using natural light to bring out the softness in a portrait or mixing ambient light with strobe lights at a reception, each technique, as often demonstrated by fstoppers, adds depth and emotion to your photos.
And remember—practice makes perfect. The more weddings you shoot, the better you’ll become at quickly adjusting your settings and positioning to make every shot count. So keep experimenting with different lighting setups and techniques; your unique style will shine through in no time!
FAQs
Q: What are some wedding photography lighting tips for beginners?
A: Beginners should start by mastering the use of natural light before moving on to artificial lighting techniques. Understanding the quality of light and how to position yourself and your subject is key to getting great shots.
Q: How important is lighting for wedding photography?
A: Lighting is crucial for wedding photography as it can make or break a shot. It sets the mood, highlights important details, and creates a flattering look for the couple and guests.
Q: What are the benefits of using off-camera flash for wedding photography?
A: Off-camera flash allows for more control over the direction and intensity of the light, resulting in more creative and dynamic shots compared to using on-camera flash.
Q: Can you explain the bounce flash technique in wedding photography?
A: Bounce flash involves pointing the flash towards a surface, such as a wall or ceiling, to diffuse the light and create softer, more natural-looking lighting for your subjects.
Q: How can wedding photographers use strobe lighting effectively during receptions?
A: Strobe lighting can be used to add drama and emphasis to key moments during receptions, such as the couple’s first dance or cake cutting. It helps illuminate the scene and freeze motion in low-light situations.
Q: What is the recommended shutter speed for wedding photography?
A: A shutter speed of around 1/125 to 1/250 is typically ideal for capturing motion and details during wedding events. Adjustments may be needed based on the available light and desired effect.
Q: How can wedding photographers balance on-camera and off-camera lighting techniques?
A: Finding the right balance between on-camera and off-camera lighting depends on the specific situation and desired outcome. Using a combination of both can help you light the scene quickly and efficiently.